Thursday, November 24, 2011

Interior and under the hood

It occurred to me that in my first picture post, I showed only the vehicle exterior. So let's have a break from all that bondo and look a little further.

Heres the inside on that first day. Notice that some dash holes have been smoothed and altered, and that a big steel center console has been fabricated. These old trucks have a removable transmission access plate bolted into the floor which is kinda cool. Theres going to be a large tachometer mounted atop the dash, angled at the driver.


This is a stocker for comparison:


Here- I'll clean it up and open the door so you can see:


Floor looks pretty nice, all cleaned up. You can see where parts of it have been replaced, and the fabbed console bracket/driveshaft tunnel at the rear.


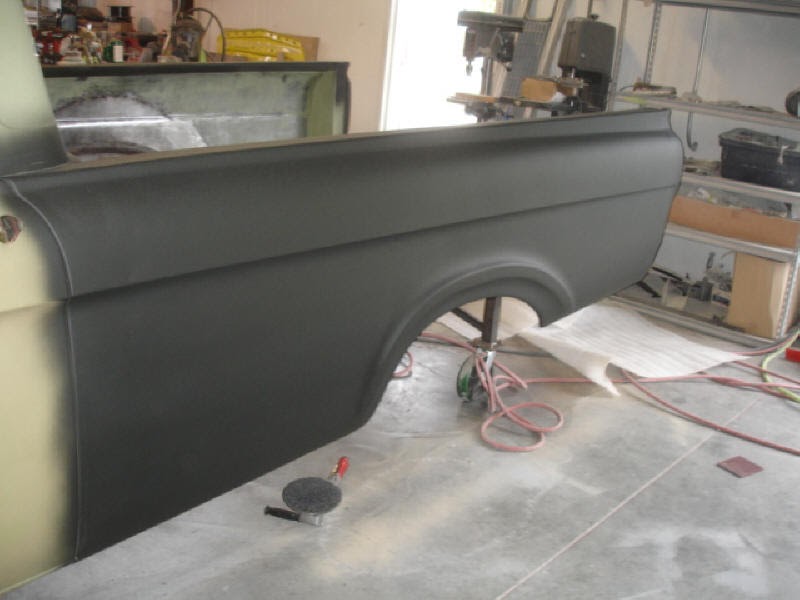
There was a long patch installed along the entire width of the cab, at the very bottom rear of the bulkhead. Must have been rusted out there, see the seam? Like the bedside patches, it was very nicely done. There will be another pic of it from the outside later.

Alright, now lets go around front and look under the hood: 


The hood is a mess, it will have it's own picture post. But heres the engine compartment. Most noticeable is the indent on one wheelhouse to fit the new air filter location, and additional hood rests built onto the core support. Dig the fancy hood hinges!


Watch for another post about these areas after they have been tended to, they haven't yet but the interior has been primed with epoxy and I didn't get a pic of that but I will. Just wanted to fill in some of what I haven't shown so far. Same thing underneath the floor. You haven't seen the underside of the cab yet, and its kind of a mess. I did quite a bit of work under there and y'all will see eventually.

To wrap up, well lets stick our heads under the front end and look under the truck with the hood shut:


Tuesday, November 22, 2011

Driver's door

Heres what a stock truck looks like in the window area:

Heres the only shot I have of shaving the door handle on this side, I'll go more in depth on the passenger side:


This one shows a fit problem between the door and bed:


Heres how I solved the misfit, a little slice and splice!

After grinding, and a coat of etching primer to keep rust away:


Now I had another issue to deal with. The door hits the jamb above the striker, here:


I made a line with a Sharpie and sliced it there then welded it back together, allowing clearance. Didn't get an after pic, but I may add one later. It was easy since it was on a corner and it came out smooth.


There was a lot of work on the roof area, and there will be a post covering that but for now, this door fits the to the roof pretty well after that work. I did finish up the rounded top front door corner, and that will be covered on the passenger door post. These pics show some of the bondo work on the door, and the gaps around the window frame during that process.


First application of polyester primer:

Of course it needed some more mud on the roof to make it match up right-


I whooped it though. I used etch primer to help me see if I had nailed the gap:


Heres another (fast forward) pic of it in polyester after that, from a distance. Only one I've got. But man, look at those cool lines!

Sunday, November 20, 2011

Repairs begin! Left bedside.

Heres what I started with. You can see the custom tailgate with flared top, and the place where the tailgate hinges used to mount. I will be smoothing all that out, as well as the seam between the tail lamp panel and rear of the bedside panel.The large patch at the front was nicely done.


Here are some close-ups showing the front stake pocket area and the tail lamp panel seam:


I spent at least a day hammering and grinding, because the inside of this panel will be as visible as the outside. Making both sides look straight at the same time is a challenge when the panel is this rough and long. These show the epoxy primer I applied once I had the metal like I wanted.


These pictures show the cap I made for the old tailgate hinge area:


Next came the mud work. These show the initial application of bodyfiller over sanded black epoxy primer.


Then I applied polyester primer and blocked that out.


Then I went to work on the inside:


Back to the outside. For pure speed, I had shaped the outside of the panel using dual action sanders only, no block. So now comes the glaze putty and lots more block sanding to make it right. Yes, that is a piece of lumber that you see sitting on top of the bed. Thats my long sanding block! Some spots have been spot-primed again at this point, and the whole thing will get polyester primer once more at least.


Here it is in the second overall application of polyester primer. I will probably turn it over to the paint shop like this. They will block it out again and fuss over anything that needs it, then prime and block it all once again using urethane primer-surfacer to prepare it for sealer and paint.