


Here are some close-ups showing the front stake pocket area and the tail lamp panel seam:


I spent at least a day hammering and grinding, because the inside of this panel will be as visible as the outside. Making both sides look straight at the same time is a challenge when the panel is this rough and long. These show the epoxy primer I applied once I had the metal like I wanted.

These pictures show the cap I made for the old tailgate hinge area:


Next came the mud work. These show the initial application of bodyfiller over sanded black epoxy primer.


Then I applied polyester primer and blocked that out.


Then I went to work on the inside:


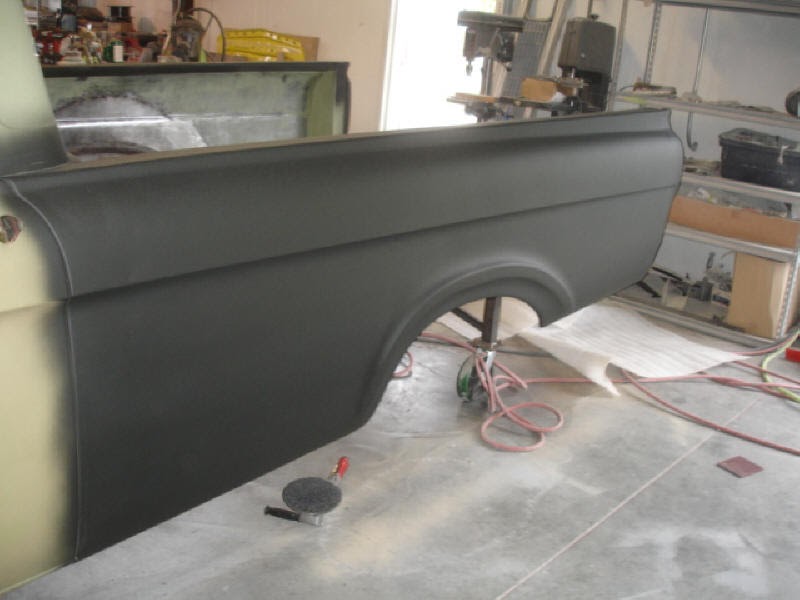
Here it is in the second overall application of polyester primer. I will probably turn it over to the paint shop like this. They will block it out again and fuss over anything that needs it, then prime and block it all once again using urethane primer-surfacer to prepare it for sealer and paint.

No comments:
Post a Comment